Whether you’re a blogger, marketer, or site owner, learning to analyze website traffic is key to understanding user behavior and improving performance. This tutorial walks you through setting up and using Google Analytics to analyze data, interpret metrics, and make informed decisions. Follow these steps to get started.
Step 1: Set Up Google Analytics
Begin by creating a Google Analytics account if you don’t have one. Sign up at analytics.google.com and add your website property. Install the tracking code on your site—either directly in the HTML or via a plugin like Google Site Kit for WordPress.
Once set up, verify the installation by checking real-time reports. This ensures data flows correctly for accurate analysis.
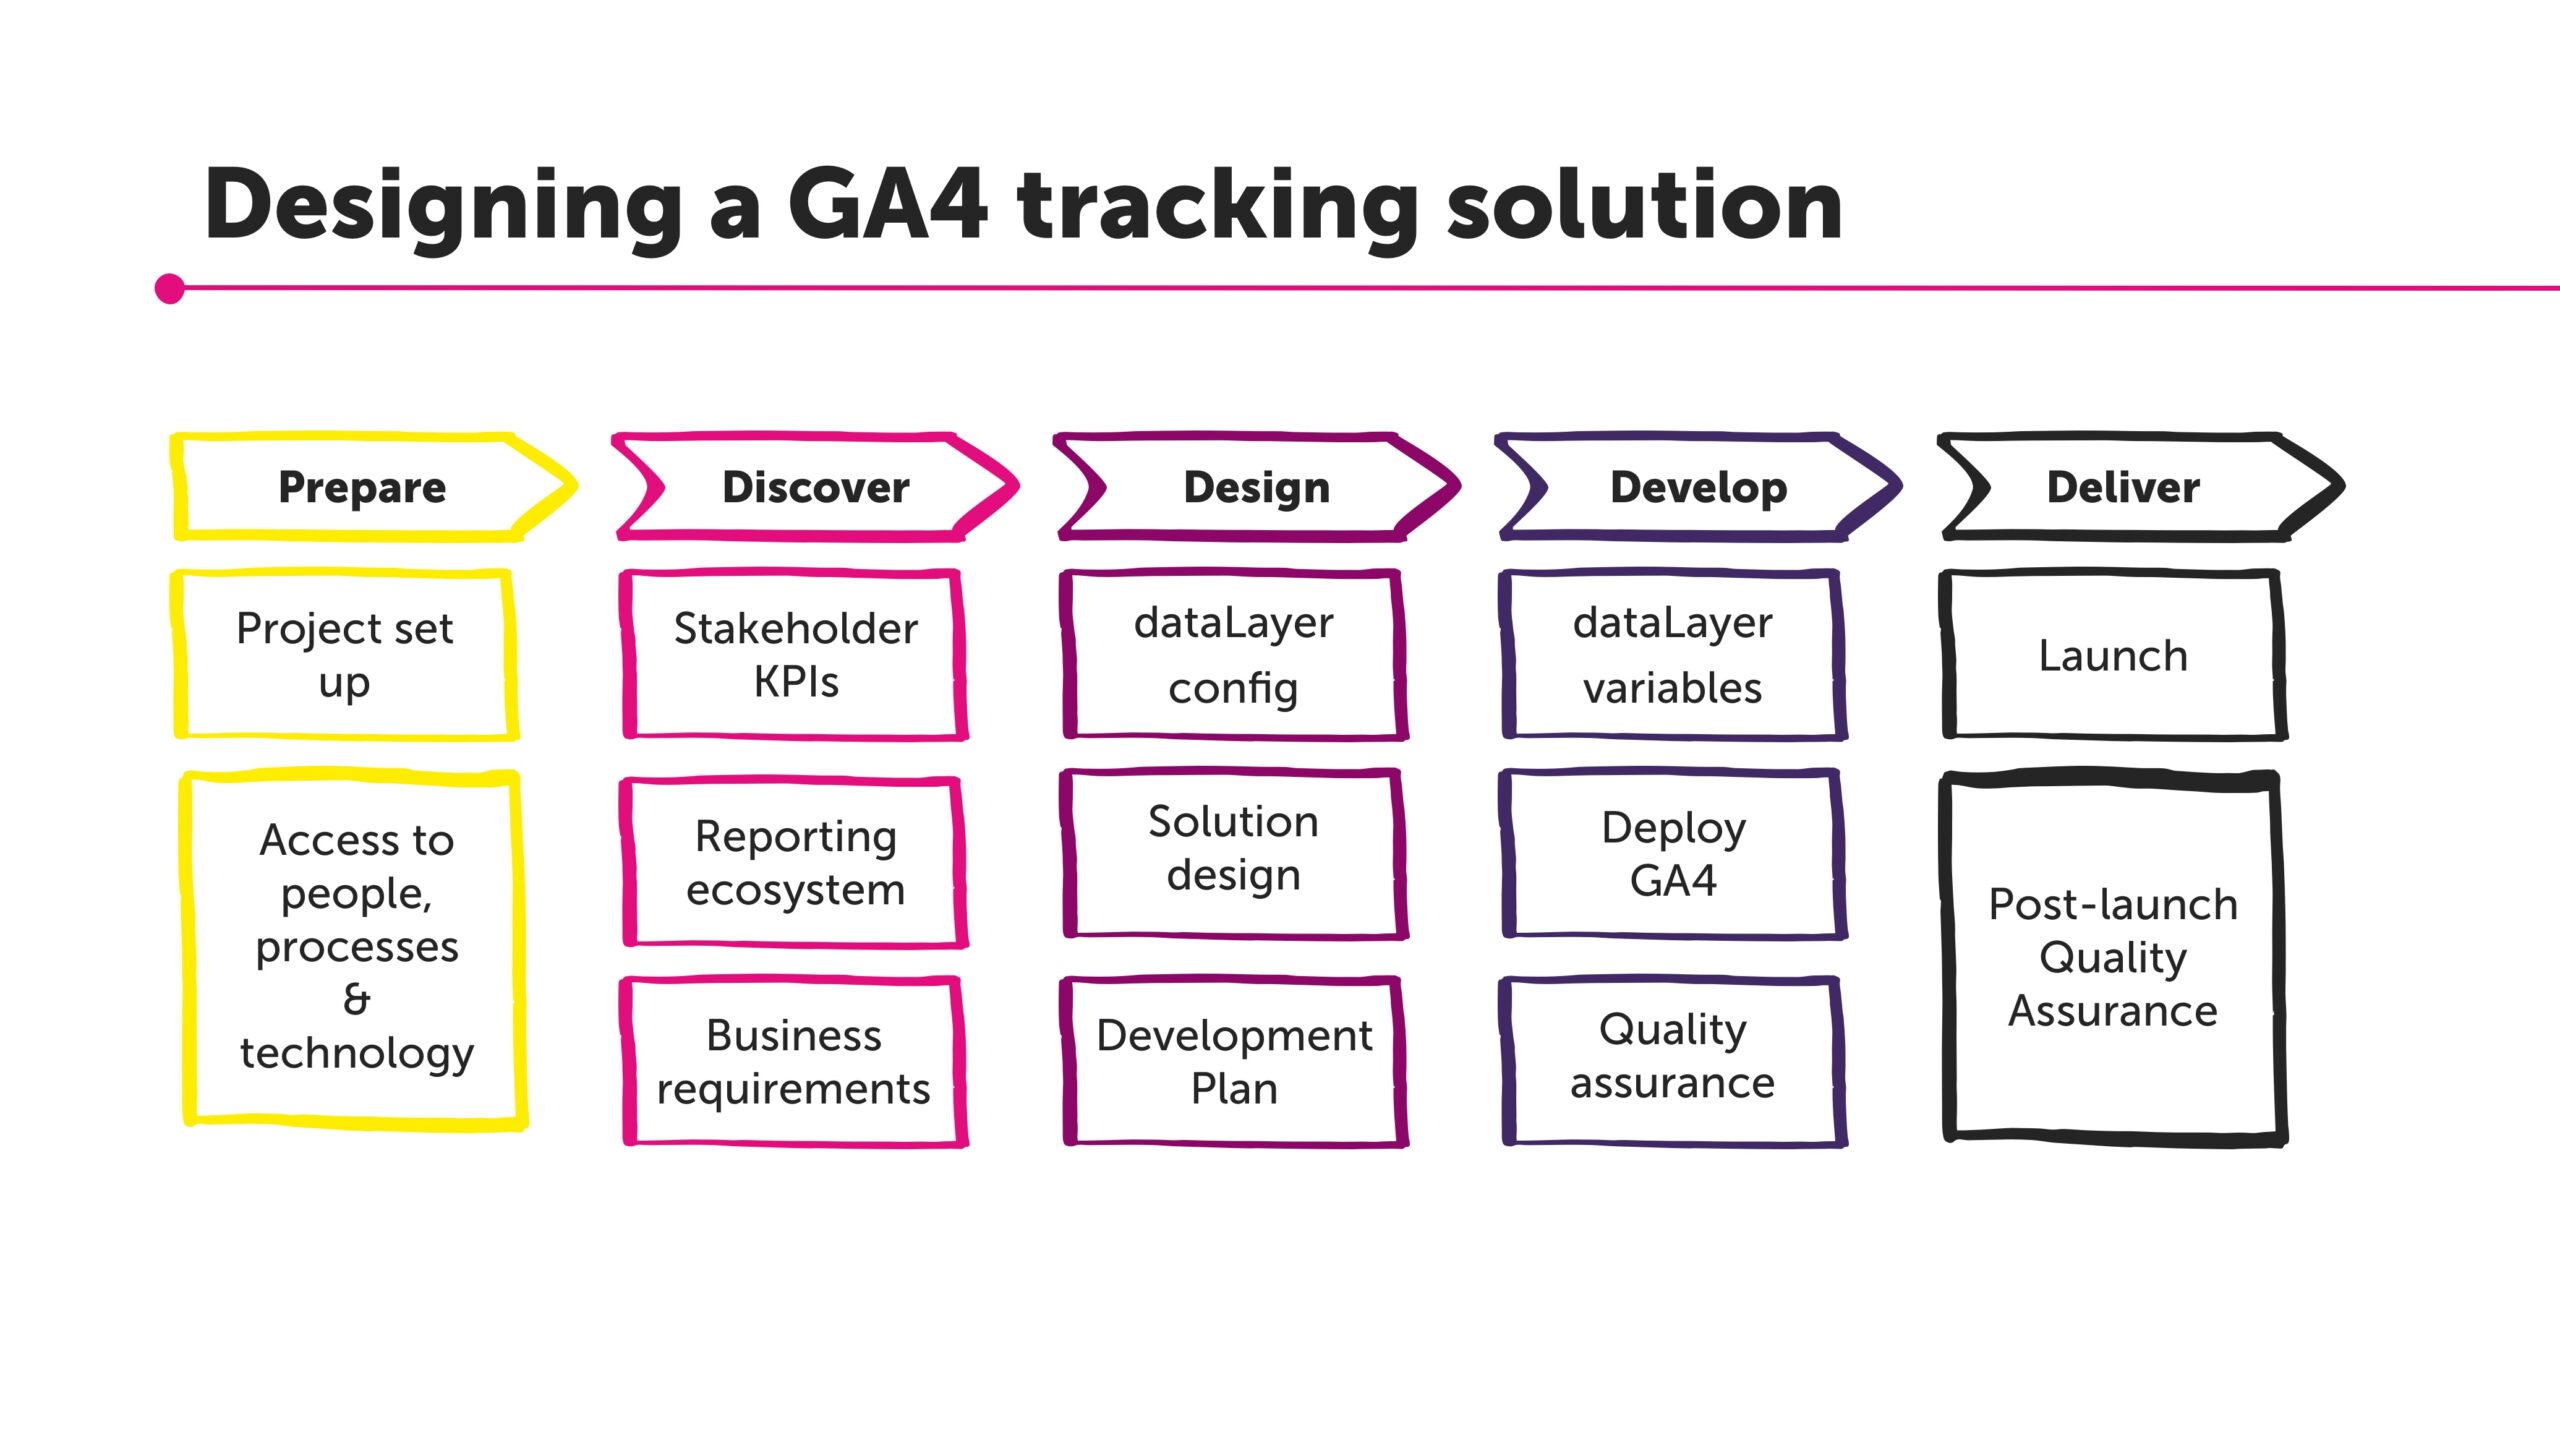
Step 2: Navigate the Dashboard
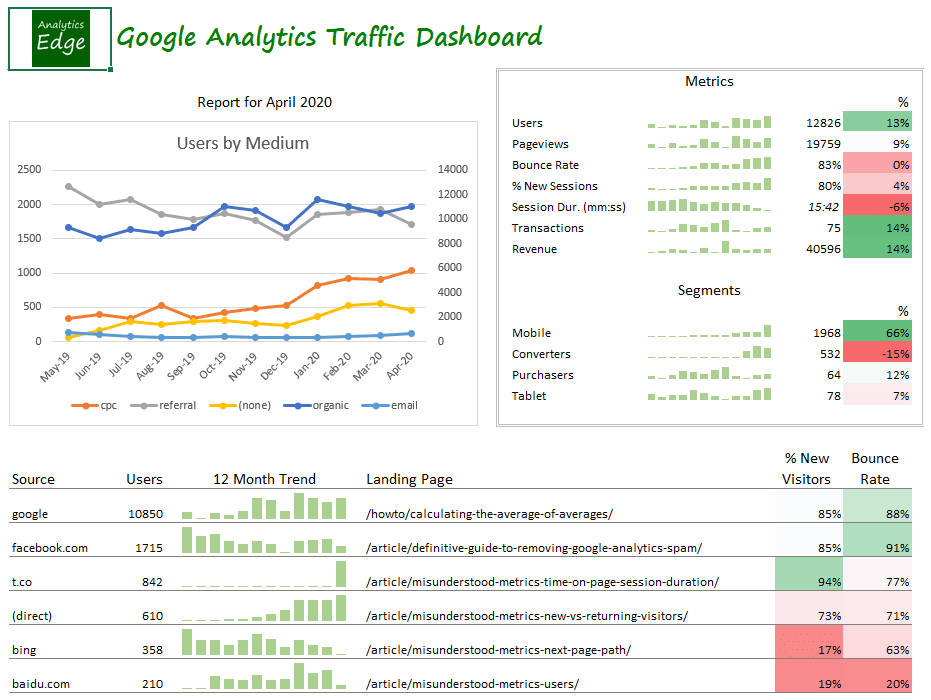
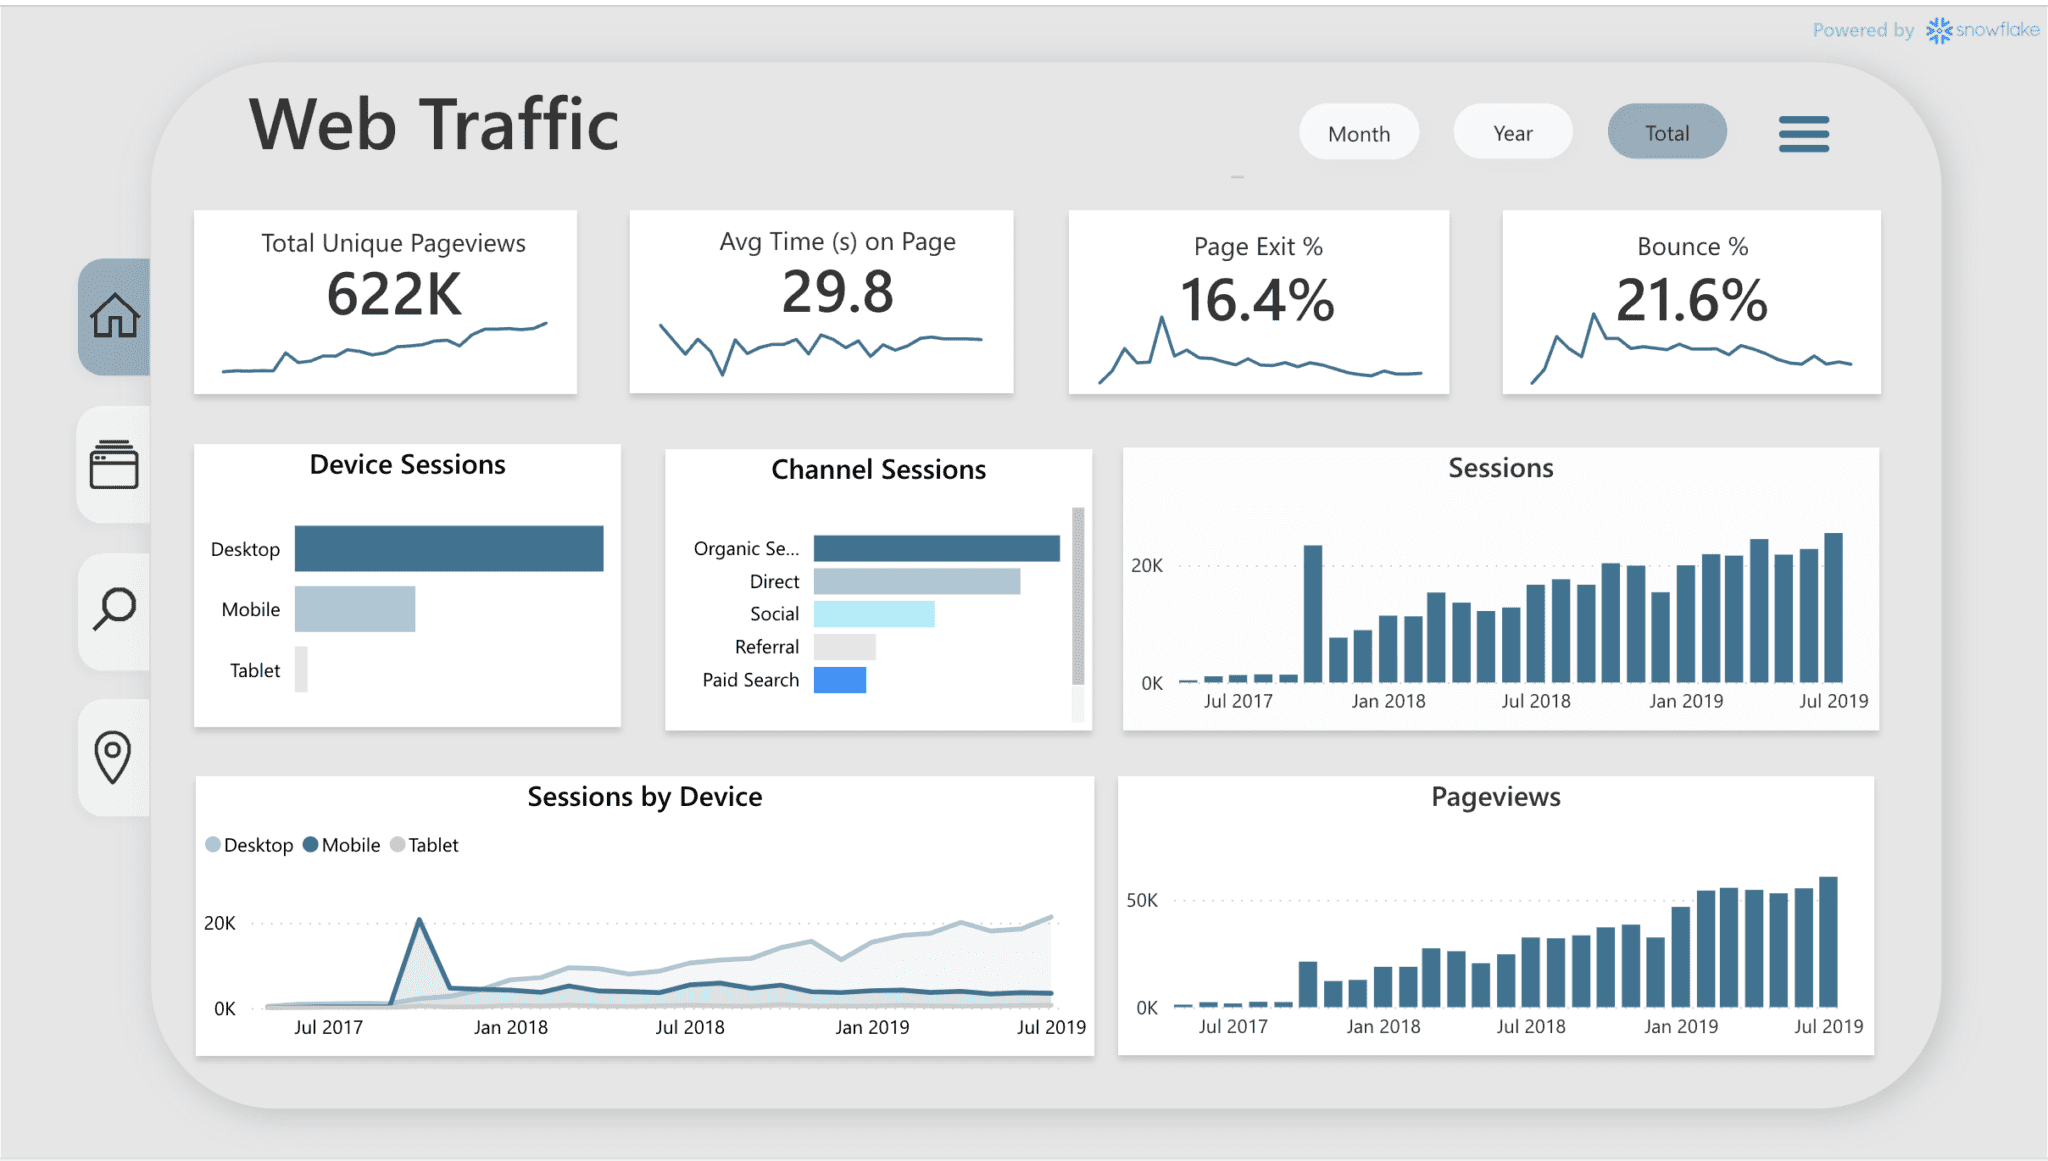
Log into your dashboard to analyze overview metrics like users, sessions, and bounce rate. The audience section helps analyze demographics, while acquisition shows traffic sources such as organic search or social media.
Focus on key reports to analyze trends over time.
Step 3: Interpret Key Metrics
To analyze effectively, look at metrics like pageviews, unique visitors, and average session duration. Use charts to visualize data—high bounce rates might indicate poor content, while low time on page could signal usability issues.
Create custom reports to analyze specific goals, like conversion rates.
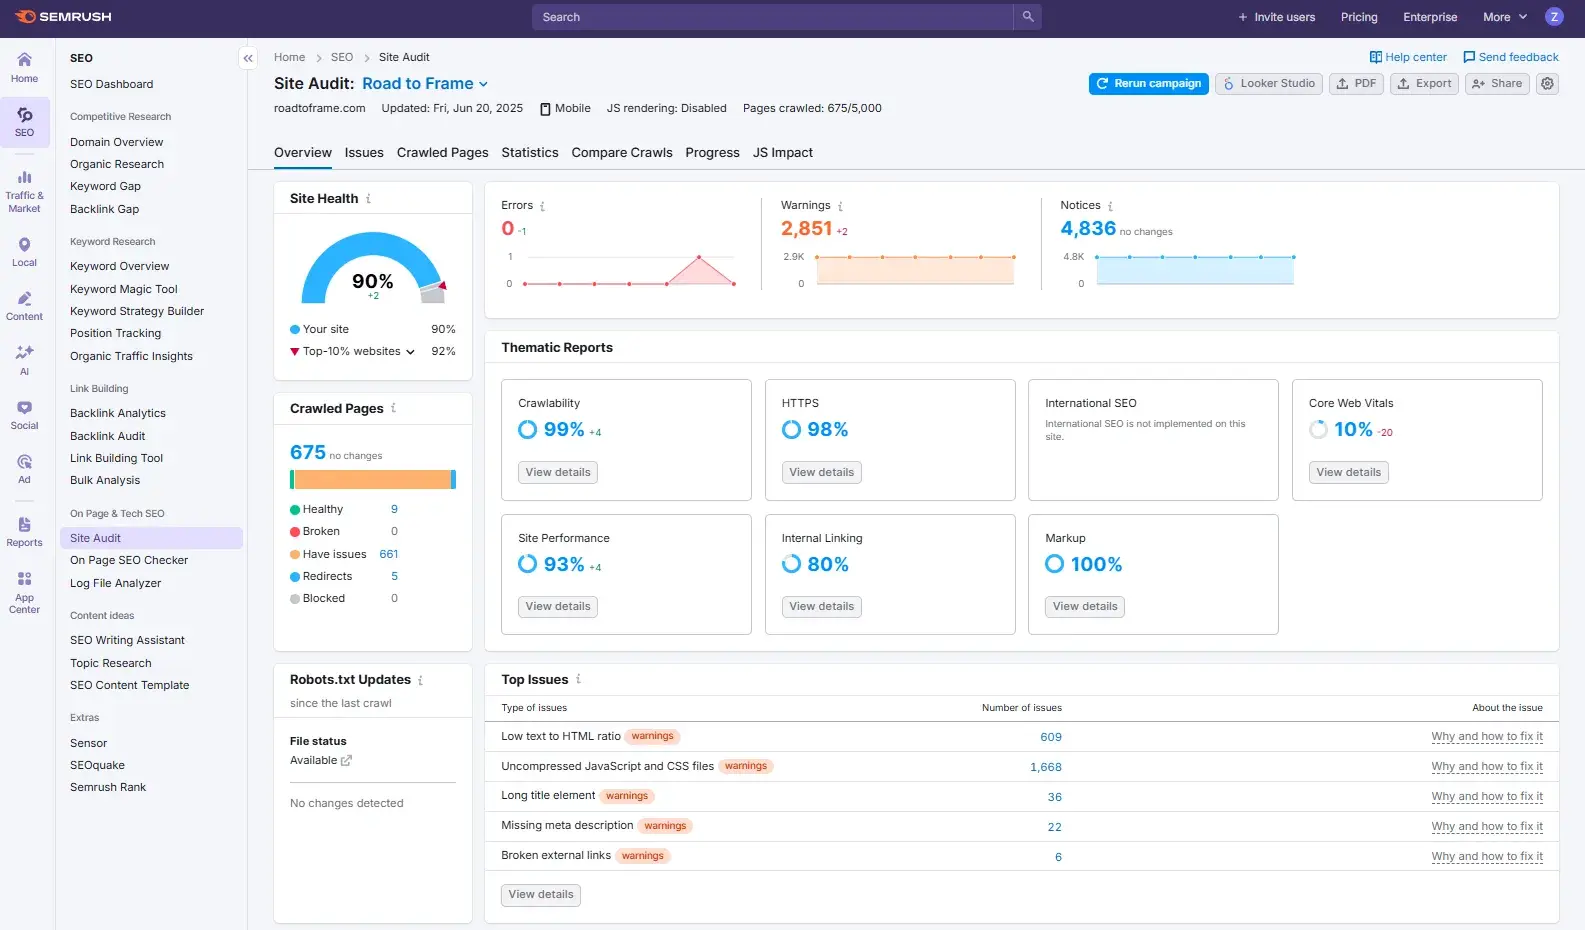
Step 4: Integrate with SEO Tools
Combine Google Analytics with tools like SEMrush to analyze SEO performance. Track keyword rankings and backlinks to see how they impact traffic.
For advanced analysis, export data to spreadsheets for deeper insights.
Step 5: Optimize Based on Insights
After analyzing, apply changes—improve content for high-exit pages or boost marketing for underperforming sources. Regularly review to track improvements.
Mastering this will help you analyze and grow your site’s traffic. Explore more tutorials on appstuf.com.